


How to make wall putty starts with understanding the right ingredients, mixing method, and surface application process. Wall putty is a fine finishing material used to smooth walls before painting, fill small imperfections, and improve paint adhesion. It is commonly made using white cement, dolomite powder, polymers, fillers, and additives, depending on the type of putty required. A proper mix gives walls a smooth, durable, and paint-ready base. This blog explains wall putty types, materials, manufacturing steps, application method, benefits, disadvantages, and practical tips for better wall finishing.
Quick Answer
How to make wall putty involves blending white cement, dolomite powder, polymers, fillers, and additives in the right proportion until the dry mix becomes uniform. For site application, wall putty powder is usually mixed with water as per manufacturer instructions, applied in thin coats, dried, sanded, and finished before painting.
Understanding Wall Putty
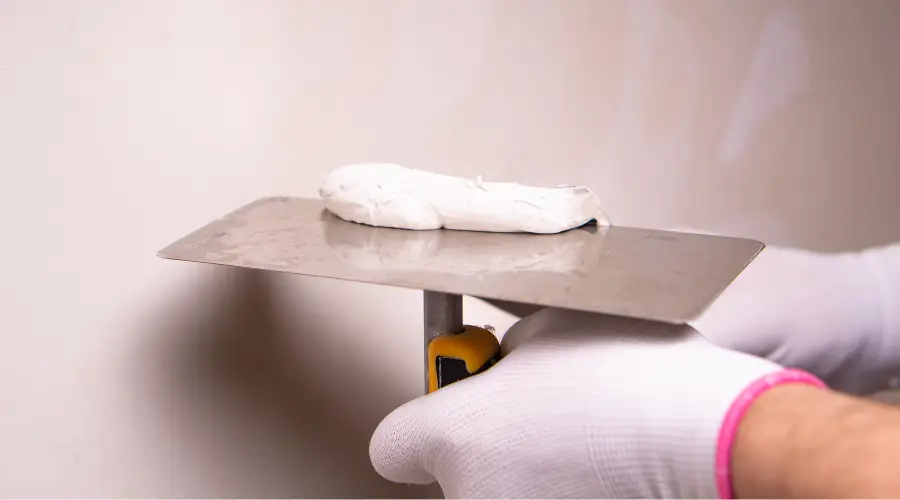
Wall putty is a fine powder primarily made from white cement,supplemented with polymers and minerals. It is essential for filling wall imperfections and creating an even canvas for paint. Utilizing wall putty enhances wall protection against stains, mold, and cracks, offering a polished and durable finish.
Types of Wall Putty
Wall putty is needed for achieving a smooth and even walls for painting, during renovations. It can hide imperfections and give a polished finish. Some of the different types of wall putty are,
Cement-Based Wall Putty
It is used in construction projects and renovation projects. It is a smooth white paste that is applied to walls before painting. This is made of cement, additives, and white cement, making it easy to apply. It can be used for interior and exterior walls.
Acrylic-Based Wall Putty
Acrylic wall putty is used for repairing and smoothing walls before painting. They are made by mixing acrylic polymer with talc, calcium carbonate, or any quartz fillers. It is water-resistant and can be used for the exterior and interior of walls. They help in preventing algal or fungal growth on walls.
Gypsum-Based Wall Putty
It is made by combining gypsum powder, additives, and minerals. They offergood adhesion properties and provide a smooth finish for interior walls. It is fire-resistant and can be used in areas prone to fire.
Polymer-Based Wall Putty
Polymer-based wall putty is a coating material that can be used for preparing or repairing walls before painting. It involves polymers like vinyl acetate or acrylic to improve adhesion, water resistance, and flexibility.
Ready-Mix Wall Putty
Ready-mix wall putty is a premix, it does not need any additional ingradients. They are generally used oninterior walls, as they can provide a smooth finish and are easy to use.
Materials Required for Making Wall Putty
- White Cement: Act as a binding material in wall putty.
- Polymers: Improve adhesion and flexibility
- Dolomite Powder: Gives consistency and smoothness
- Fillers: Improves workability and texture.
- Additives: Enhance various properties like antifungal, dispersion , water resistance, and so on.
Wall Putty Manufacturing Process
The typical composition of wall putty is white cement to dolomite, in a ratio of 1:4. For example, in a 5-ton batch of putty, 1 ton is white cement (BD: 1100 Kg/m3) and 4 tons is dolomite (BD: 950 Kg/m3), along with various minor ingredients.
The manufacturing process involves four steps, namely:
Unloading and Storing Raw Materials:
Raw materials arrive in bags ranging from 25 kg to 1000 kg. Small bags are emptied using bag-slitting equipment, while larger bags use an electric hoist and bag massager system. Materials are then pneumatically conveyed to storage silos, where their capacity is determined by the desired stock levels. Silos include fluidized cones and bin activators to prevent blockages.
Ingredient Weighing and Batching:
Specific proportions of ingredients, as per the formula, are crucial for quality. Weigh hoppers with cells are placed beneath the silos, and screw conveyors transport materials to the weight hopper, which doses them to the charge hopper via rotary airlock valves.
Transmission of Raw Materials to Charging Hoppers:
Raw materials are directed to charge hoppers using diverters in the conveying line. The conveying air velocity is maintained between 25-30 meters per second, with capacity and distance determining the blower size.
Blending and Combining:
Materials are transferred from the charge hopper to a blender/mixer via a screw conveyor. Mixing takes 15-30 minutes, after which the putty is sent to a packing machine and then moved to the storage room.
Application Techniques for Wall Putty
Surface Preparation
The surface must be clean, dust-free, and dry. Any loose paints, dust, grease, oil, etc from the wall must be removed. Prepare a clean surface so that the wall putty can attach properly.
Apply Primer (If Necessary)
To create a stable surface, a primer can be added, mainly if the surface is in poor condition, new to painting, or stained.
Mixing
Mix wall putty according to the manufacturer’s instructions. Typically 2:1 ratio of water and putty powder is recommended. It has to be mixed for at least 15 minutes to ensure it is free of lumps.
Apply the First Coat
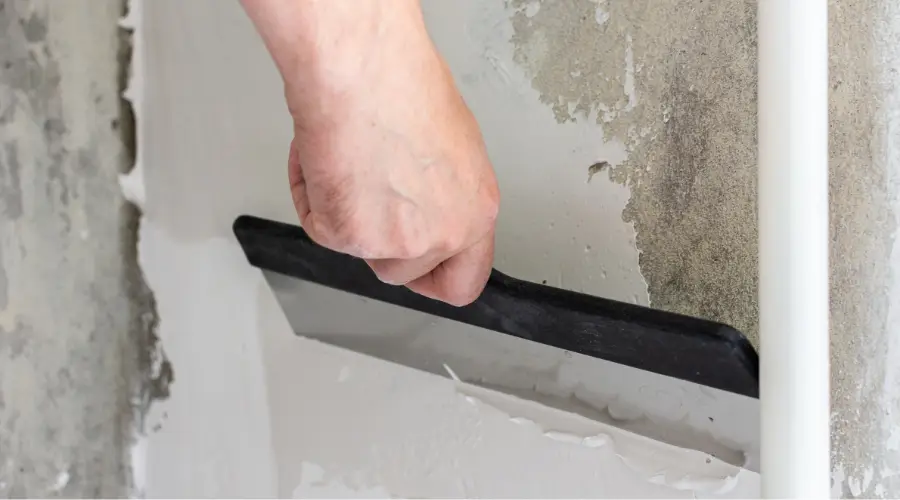
Using a putty blade, spatula, or trowel, apply the first coat of putty vertically from bottom to top, or start in a corner and spread uniformly. Aim for a thin, consistent layer, without worrying about perfect smoothness at this stage.
Drying
Allow the first coat to dry completely, it may take more than 6 hours. It will be good if the manufacturer’s recommendation is followed.
Sanding
After the first coating, there may be some imperfections, for that, just use sandpaper to wipe the surface after drying.
The Second Coat
Apply the second coat of wall putty, which should be thinner than the first. Spread it uniformly, aiming to further refine and smooth the surface.
Dry Again
Let the second coat dry completely. Patience is crucial; ensure the putty is thoroughly dry before moving on to the final step.
Final Sanding
After drying the second coating, the final sanding will be carried out. A sand block or fine sandpaper is used for obtaining smooth and even surfaces. Rub the surface with a damp sponge to remove dust, and carefully inspect the wall.
Painting
With your wall perfectly prepared, you can proceed with painting. Apply your chosen paint using appropriate techniques and tools. The smooth surface achieved through the application of Homesure wall putty will ensure a professional and polished paint finish.
Advantages and Disadvantages of Wall Putty
Advantages
- Enhanced Strength: The application of putty helps improve the tensile strength of the walls.
- Extended Durability: By forming a protective layer, wall putty contributes to the longevity of the wall.
- Cost Efficiency: It can lower overall painting costs, as less paint is needed after applying wall putty, thus reducing material expenses.
- Durable Finish: Wall putty resists flaking and damage, effectively filling cracks and providing a smooth, glossy finish.
- Improved Color Accuracy: It creates a smooth, white base that helps achieve the desired paint shade.
Disadvantages
- Application Challenges: Working with wall putty can be difficult.
- Single Use: Once mixed and hardened, wall putty cannot be reused.
- Need for Skilled Labor: Applying wall putty requires trained professionals to achieve the best results.
- Mechanical Mixing Required: Hand mixing is not practical as it takes longer and can lead to rapid drying, so mechanical tools are necessary for preparation.
Conclusion
How to make wall putty depends on using the right ingredients, accurate batching, uniform blending, and proper storage. A typical cement-based putty uses white cement, dolomite powder, polymers, fillers, and additives to create a smooth finishing material. For site use, the powder must be mixed with clean water, applied in thin coats, dried, sanded, and painted correctly. Good wall putty improves surface smoothness, paint adhesion, durability, and colour finish. For best results, follow product instructions and use trained applicators.
FAQs
- How to make wall putty at home or on site?
How to make wall putty for site use usually means mixing ready wall putty powder with clean water as per manufacturer instructions. Add powder gradually, mix until lump-free, and use it within the workable time. Manufacturing putty from raw materials needs controlled batching, blending, and quality checks. - What are the main ingredients of wall putty?
The main ingredients of wall putty include white cement, dolomite powder, polymers, fillers, and additives. White cement works as a binder, dolomite improves smoothness, polymers improve adhesion, fillers improve workability, and additives enhance properties such as water resistance and dispersion. - What is the mixing ratio for wall putty?
The mixing ratio for wall putty depends on the product, so the manufacturer’s instructions should be followed. Brick & Bolt mentions a typical 2:1 water-to-putty powder ratio for mixing, but this may not apply to every brand or putty type. - How many coats of wall putty are needed?
Two coats of wall putty are commonly applied for a smooth finish. The first coat fills minor unevenness, while the second coat refines the surface. Each coat should dry properly before sanding or applying the next layer. - Can wall putty be applied without primer?
Wall putty may be applied without primer in some systems, but primer may be needed if the wall is weak, stained, new, or unevenly absorbent. Always check the product instructions because primer sequence can vary by putty type and paint system. - Is wall putty suitable for exterior walls?
Yes, some types of wall putty are suitable for exterior walls, especially cement-based and specific acrylic-based options. The surface must be clean, stable, and free from active dampness. Exterior putty should be selected based on weather exposure and manufacturer recommendation. - Why does wall putty crack or peel?
Wall putty can crack or peel because of damp walls, poor surface preparation, wrong mixing, thick application, insufficient drying, weak plaster, or poor-quality material. Seepage and structural cracks should be fixed before putty application. - Can mixed wall putty be reused later?
No, mixed wall putty should not be reused after it hardens. Once water is added and the material sets, it loses workability and bonding quality. Mix only the amount needed for immediate application.
 prasanthkumar
  wordpress-prod